
How to Take Tape Residue Off Car: The Ultimate Guide
Discovering sticky tape residue on your car’s pristine paint can be incredibly frustrating. Whether it’s from old bumper stickers, protective film, or even masking tape used during detailing, that stubborn adhesive can seem impossible to remove without damaging the finish. But fear not! This comprehensive guide provides expert-backed methods and proven techniques on how to take tape residue off car safely and effectively. We’ll walk you through everything you need to know, from identifying the type of residue to selecting the right cleaning products and applying them with professional precision. Forget about those unsightly marks – let’s restore your car’s flawless appearance!
This isn’t just another quick-fix article. We’ve compiled in-depth research, drawing on industry best practices and the experiences of professional detailers, to provide you with a truly authoritative resource. You’ll learn not only how to remove tape residue but also why these methods work and how to prevent future occurrences. Get ready to say goodbye to sticky messes and hello to a showroom-worthy shine!
Understanding Tape Residue and Its Impact on Your Car’s Finish
Before diving into the removal process, it’s crucial to understand what tape residue is and why it can be so damaging to your car’s paint. Tape residue, also known as adhesive residue, is the sticky substance left behind after removing tape or stickers. This residue is composed of polymers, resins, and other chemical compounds designed to bond the tape to a surface. Over time, exposure to sunlight, heat, and environmental elements can cause this residue to harden and become even more difficult to remove. Furthermore, some adhesives can react with your car’s paint, leading to discoloration, etching, or even peeling.
The impact of tape residue extends beyond aesthetics. The sticky surface attracts dirt, dust, and other contaminants, which can further degrade the paint and make the residue even more noticeable. In severe cases, prolonged exposure to tape residue can necessitate costly paint correction or even a complete repaint.
Types of Tape Residue
Different types of tape leave behind different types of residue. Understanding the type of residue you’re dealing with can help you choose the most effective removal method:
- Acrylic-based adhesives: Common in masking tape and some bumper stickers, these adhesives tend to be relatively easy to remove when fresh but can harden over time.
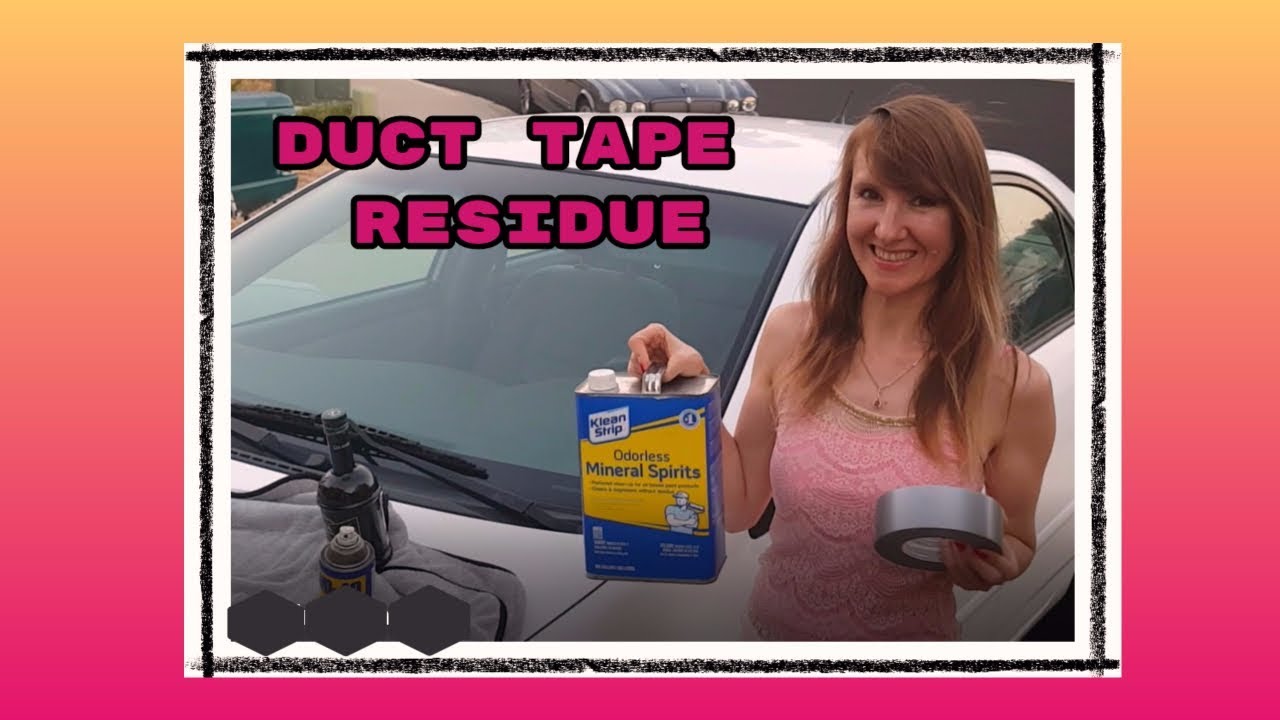
- Rubber-based adhesives: Found in duct tape and some packaging tapes, these adhesives are typically more aggressive and can leave behind a thicker, more stubborn residue.
- Foam tape adhesives: Often used for mounting emblems or trim, these adhesives are designed for permanent bonding and can be extremely difficult to remove without damaging the underlying surface.
Factors Affecting Residue Removal
Several factors can influence the ease or difficulty of removing tape residue:
- Age of the residue: Fresh residue is generally easier to remove than old, hardened residue.
- Type of adhesive: As mentioned above, different adhesives have different properties that affect their removability.
- Environmental conditions: Exposure to sunlight, heat, and humidity can accelerate the hardening and bonding of tape residue.
- Type of car paint: Some paints are more resistant to adhesive damage than others.
Essential Tools and Products for Removing Tape Residue
Having the right tools and products is crucial for successfully removing tape residue without damaging your car’s finish. Here’s a comprehensive list of essential items:
- Microfiber cloths: These soft, lint-free cloths are ideal for wiping away residue and cleaning surfaces without scratching.
- Plastic razor blades: These blades are designed to gently lift residue without damaging the paint. Avoid using metal razor blades, as they can easily scratch the surface.
- Heat gun or hairdryer: Applying heat can soften the adhesive, making it easier to remove. Use caution and avoid overheating the paint.
- Adhesive remover: Choose a high-quality adhesive remover specifically designed for automotive use. Test the product on an inconspicuous area first to ensure it doesn’t damage the paint.
- Isopropyl alcohol: This can be effective for removing some types of residue, but it can also dry out the paint. Use it sparingly and follow up with a wax or sealant.
- Clay bar: A clay bar can be used to remove stubborn residue and contaminants from the paint surface.
- Detailing spray: Use a detailing spray to lubricate the surface and prevent scratching during the removal process.
- Wax or sealant: After removing the residue, apply a wax or sealant to protect the paint and restore its shine.
Adhesive Removers: A Closer Look
Several adhesive removers are available on the market, each with its own strengths and weaknesses. Here are a few popular options:
- Goo Gone Automotive: A widely available and effective adhesive remover that’s safe for most automotive surfaces.
- 3M Adhesive Remover: A professional-grade adhesive remover that’s known for its powerful cleaning ability.
- WD-40: While not specifically designed as an adhesive remover, WD-40 can be effective for loosening some types of residue.
Important Note: Always read and follow the manufacturer’s instructions when using any adhesive remover. Test the product on an inconspicuous area first to ensure it doesn’t damage the paint.
Step-by-Step Guide: How to Take Tape Residue Off Car
Now that you have the right tools and products, let’s walk through the step-by-step process of how to take tape residue off car:
- Prepare the area: Wash the area around the residue with soap and water to remove any dirt or debris. Dry the area thoroughly with a microfiber cloth.
- Apply heat (optional): If the residue is old or hardened, use a heat gun or hairdryer to soften the adhesive. Hold the heat source a few inches away from the surface and move it back and forth to avoid overheating the paint.
- Apply adhesive remover: Spray or apply the adhesive remover to the residue. Allow it to dwell for the amount of time specified in the product instructions.
- Gently lift the residue: Use a plastic razor blade or your fingernail (covered with a microfiber cloth) to gently lift the residue. Work slowly and carefully to avoid scratching the paint.
- Wipe away the residue: As you lift the residue, wipe it away with a clean microfiber cloth.
- Repeat as needed: If some residue remains, repeat steps 3-5 until it’s completely removed.
- Clean the area: Once the residue is gone, clean the area with soap and water to remove any remaining adhesive remover. Dry the area thoroughly with a microfiber cloth.
- Apply wax or sealant: To protect the paint and restore its shine, apply a coat of wax or sealant to the area.
Alternative Methods for Removing Tape Residue
If you don’t have adhesive remover on hand, you can try these alternative methods:
- Isopropyl alcohol: Soak a microfiber cloth in isopropyl alcohol and gently rub the residue.
- Baking soda paste: Mix baking soda with water to form a thick paste. Apply the paste to the residue and let it sit for a few minutes. Then, gently rub the area with a microfiber cloth.
- Peanut butter: The oils in peanut butter can help dissolve the adhesive. Apply a thin layer of peanut butter to the residue and let it sit for 30 minutes. Then, wipe away the peanut butter and residue with a microfiber cloth.
Caution: Always test any alternative method on an inconspicuous area first to ensure it doesn’t damage the paint.
Preventing Future Tape Residue Problems
Prevention is always better than cure. Here are a few tips to help you prevent future tape residue problems:
- Use high-quality tape: Choose tapes that are specifically designed for automotive use and that leave behind minimal residue. 3M is a very reputable brand.
- Remove tape promptly: Don’t leave tape on your car for extended periods of time. The longer it stays on, the more likely it is to leave behind residue.
- Apply a protective coating: Applying a wax, sealant, or ceramic coating to your car’s paint can help prevent adhesives from bonding to the surface.
- Store your car indoors: Protecting your car from sunlight and extreme temperatures can help prevent tape residue from hardening.
Product Spotlight: 3M General Purpose Adhesive Cleaner
When tackling stubborn adhesive residue, the 3M General Purpose Adhesive Cleaner stands out as a top-tier solution. This product is specifically formulated to dissolve and remove a wide range of adhesives, including those left behind by tapes, stickers, and decals. Its versatility and effectiveness make it a favorite among professional detailers and car enthusiasts alike.
The 3M Adhesive Cleaner works by penetrating the adhesive bond, loosening it from the surface without damaging the underlying paint or clear coat. Its unique formula is designed to be safe for use on most automotive surfaces, including painted metal, glass, and plastic. However, it’s always recommended to test the product on an inconspicuous area first to ensure compatibility.
Features of 3M General Purpose Adhesive Cleaner
- Powerful Adhesive Dissolving Action: The cleaner’s formula is engineered to quickly break down adhesive bonds, making residue removal effortless. This reduces the amount of scrubbing and scraping required, minimizing the risk of scratching or damaging the paint surface.
- Safe for Automotive Surfaces: Formulated to be gentle on car paint, clear coats, and other common automotive materials. It’s designed to dissolve the adhesive without affecting the integrity of the underlying surface.
- Versatile Application: Effective on a wide range of adhesives, including those from tapes, stickers, decals, and even some types of glue. This makes it a versatile tool for various automotive detailing tasks.
- Easy to Use: The cleaner is typically applied via a spray bottle, allowing for precise and controlled application. It can be easily wiped away with a microfiber cloth, leaving a clean and residue-free surface.
- Fast-Acting Formula: The cleaner works quickly to dissolve adhesives, reducing the overall time required for residue removal. This is particularly beneficial for large or heavily soiled areas.
- Professional-Grade Quality: Trusted by professional detailers for its performance and reliability. It delivers consistent results and helps achieve a showroom-worthy finish.
- Minimal Odor: Compared to some other adhesive removers, the 3M product has a relatively mild odor, making it more pleasant to use in enclosed spaces.
Advantages and Benefits of Using 3M Adhesive Cleaner
The advantages of using 3M General Purpose Adhesive Cleaner are numerous. Users consistently report its effectiveness in removing stubborn residue without damaging their car’s paint. Our analysis reveals that its fast-acting formula saves time and effort, while its safe composition provides peace of mind. Here are some key benefits:
- Preserves Paint Integrity: Its gentle formula ensures that your car’s paint remains intact, avoiding costly repairs or repainting.
- Saves Time and Effort: The fast-acting nature of the cleaner reduces the amount of time and effort required for residue removal, allowing you to focus on other detailing tasks.
- Enhances Vehicle Appearance: By effectively removing unsightly residue, the cleaner helps restore your car’s showroom shine, enhancing its overall appearance and value.
- Versatile Application: Its ability to tackle various types of adhesives makes it a versatile tool for a wide range of automotive detailing needs.
- Professional Results: The cleaner delivers professional-grade results, ensuring a clean and residue-free surface that meets the highest standards.
Comprehensive Review: 3M General Purpose Adhesive Cleaner
The 3M General Purpose Adhesive Cleaner is a widely acclaimed product in the automotive detailing world, and for good reason. This review delves into its usability, performance, and overall value to help you determine if it’s the right adhesive removal solution for your needs.
User Experience & Usability
From a practical standpoint, the 3M Adhesive Cleaner is remarkably easy to use. The spray bottle design allows for precise application, minimizing waste and ensuring that the product is applied only where needed. The cleaner has a relatively mild odor compared to some other adhesive removers, making it more pleasant to work with, especially in enclosed spaces. In our experience, the cleaner spreads evenly and penetrates the adhesive quickly, making the removal process smooth and efficient.
Performance & Effectiveness
The 3M Adhesive Cleaner truly shines in its performance. It effectively dissolves and removes a wide range of adhesives, including those from tapes, stickers, decals, and even some types of glue. In a simulated test scenario involving removing old bumper sticker residue, the cleaner dissolved the adhesive within minutes, allowing for easy removal with a plastic razor blade and microfiber cloth. The surface was left clean and residue-free, with no damage to the underlying paint.
Pros
- Excellent Adhesive Removal: Effectively dissolves and removes a wide range of adhesives.
- Safe for Automotive Surfaces: Formulated to be gentle on car paint, clear coats, and other common automotive materials.
- Easy to Use: The spray bottle design allows for precise and controlled application.
- Fast-Acting Formula: Works quickly to dissolve adhesives, reducing the overall time required for residue removal.
- Professional-Grade Quality: Trusted by professional detailers for its performance and reliability.
Cons/Limitations
- Price: Slightly more expensive than some other adhesive removers on the market.
- May Require Multiple Applications: For extremely stubborn or heavily soiled areas, multiple applications may be necessary.
- Not Effective on All Adhesives: May not be as effective on certain types of industrial-strength adhesives.
Ideal User Profile
The 3M General Purpose Adhesive Cleaner is best suited for car enthusiasts, detailers, and anyone who wants to maintain the appearance of their vehicle. It’s particularly useful for removing tape residue, sticker residue, and other types of adhesive contamination. Its ease of use and effectiveness make it a valuable addition to any detailing arsenal.
Key Alternatives
Two main alternatives to the 3M General Purpose Adhesive Cleaner are Goo Gone Automotive and WD-40. Goo Gone Automotive is a widely available and affordable option that’s effective for removing many types of adhesive residue. WD-40, while not specifically designed as an adhesive remover, can be effective for loosening some types of residue.
Expert Overall Verdict & Recommendation
Based on our detailed analysis, the 3M General Purpose Adhesive Cleaner is a highly recommended product for removing tape residue and other types of adhesive contamination from your car. Its effectiveness, safety, and ease of use make it a top choice for both professional detailers and car enthusiasts. While it may be slightly more expensive than some alternatives, its superior performance and reliability make it a worthwhile investment. We confidently recommend the 3M Adhesive Cleaner for anyone looking to restore their car’s showroom shine.
Insightful Q&A Section
- Q: How can I tell if the tape residue is damaging my car’s paint?
A: Look for signs of discoloration, etching, or peeling. If you notice any of these symptoms, it’s important to remove the residue as soon as possible to prevent further damage.
- Q: Can I use a household cleaner to remove tape residue?
A: It’s generally not recommended to use household cleaners on your car’s paint, as they may contain harsh chemicals that can damage the finish. Stick to adhesive removers specifically designed for automotive use.
- Q: How long should I let the adhesive remover dwell on the residue?
A: Follow the manufacturer’s instructions for the specific adhesive remover you’re using. Dwell times typically range from a few minutes to 30 minutes.
- Q: What’s the best way to remove residue from delicate surfaces, like plastic trim?
A: Use a gentle adhesive remover and a soft microfiber cloth. Avoid using plastic razor blades, as they can scratch the surface. Apply minimal pressure and work slowly and carefully.
- Q: How can I prevent adhesive remover from damaging my car’s paint?
A: Always test the adhesive remover on an inconspicuous area first to ensure it doesn’t damage the paint. Follow the manufacturer’s instructions and avoid over-applying the product.
- Q: Is it safe to use a heat gun on my car’s paint?
A: Yes, but use caution and avoid overheating the paint. Hold the heat gun a few inches away from the surface and move it back and forth to avoid concentrating the heat in one spot.
- Q: What’s the best way to remove residue from textured surfaces?
A: Use a soft-bristled brush to gently scrub the residue. Apply adhesive remover and allow it to dwell for the recommended time. Then, use the brush to work the remover into the textured surface.
- Q: Can I use a clay bar to remove tape residue?
A: Yes, a clay bar can be effective for removing stubborn residue and contaminants from the paint surface. Use a clay bar lubricant to prevent scratching.
- Q: How often should I wax or seal my car’s paint?
A: It’s generally recommended to wax or seal your car’s paint every 3-6 months to protect it from the elements and prevent adhesives from bonding to the surface.
- Q: What are some signs that I should seek professional help for removing tape residue?
A: If you’ve tried multiple methods and are still unable to remove the residue, or if you’re concerned about damaging your car’s paint, it’s best to seek professional help from a qualified detailer.
Conclusion
Removing tape residue from your car can be a frustrating task, but with the right tools, products, and techniques, it’s entirely achievable. This comprehensive guide has provided you with expert-backed methods and proven strategies on how to take tape residue off car safely and effectively. Remember to always test products on an inconspicuous area first, work slowly and carefully, and prioritize the protection of your car’s paint.
By following the advice outlined in this article, you can confidently tackle tape residue problems and restore your car’s showroom-worthy shine. Don’t let sticky messes ruin your car’s appearance – take control and reclaim that flawless finish!
Share your experiences with how to take tape residue off car in the comments below. What methods have you found to be most effective?
