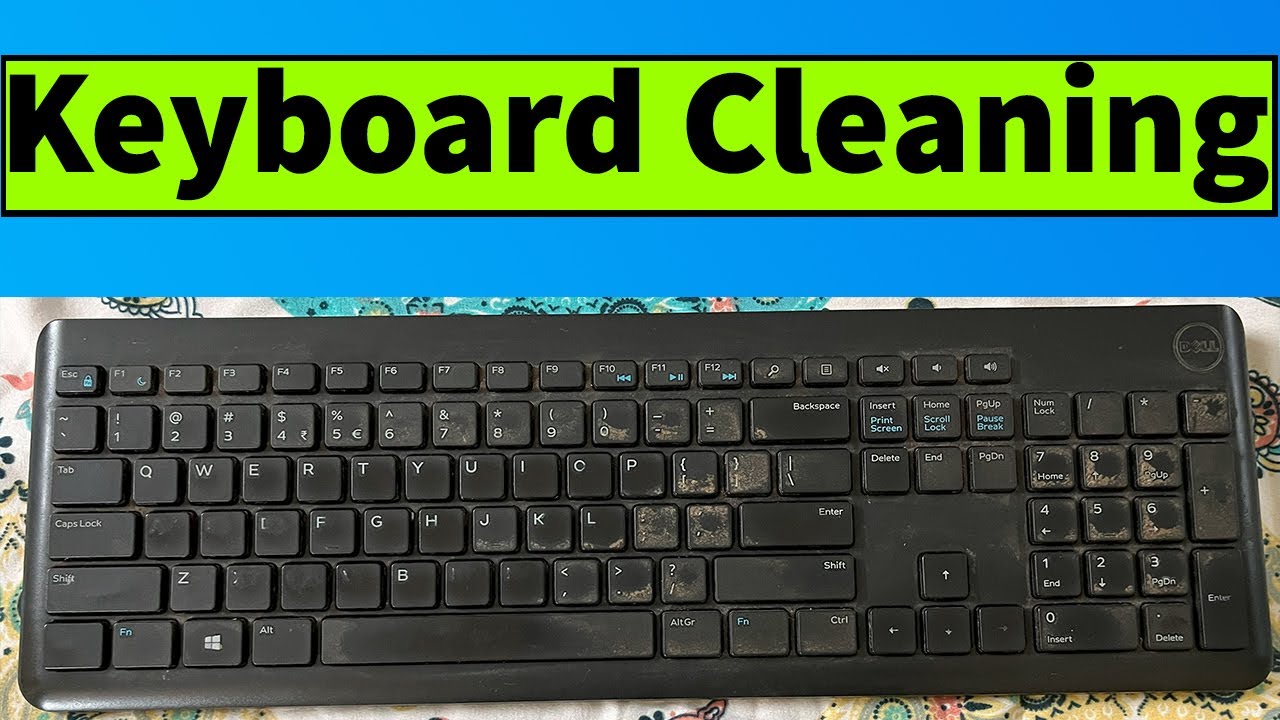

# How to Clean PC Keyboard: A Comprehensive Guide for Sparkling Clean Keys
Is your PC keyboard a breeding ground for crumbs, dust, and grime? Don’t worry; you’re not alone. A dirty keyboard can be unsightly, unhygienic, and even affect its functionality. This comprehensive guide provides expert-backed methods on **how to clean pc keyboard** effectively and safely, ensuring its longevity and your peace of mind. We’ll cover everything from daily maintenance to deep cleaning techniques, suitable for various keyboard types and levels of dirt. Get ready to transform your keyboard from a sticky mess to a pristine workstation!
This isn’t just another superficial cleaning guide. We delve into the *why* behind each step, offering insights into the best practices recommended by cleaning professionals and keyboard manufacturers. Our aim is to provide a resource that not only answers your immediate question of *how to clean pc keyboard* but also equips you with the knowledge to maintain a clean and healthy computing environment.
## Why Cleaning Your PC Keyboard Matters: Hygiene, Performance, and Longevity
Cleaning your PC keyboard is more than just an aesthetic concern; it’s crucial for hygiene, performance, and the longevity of your device. Let’s explore these aspects in detail.
### The Hygiene Factor: A Hotbed for Germs
Keyboards, especially those used frequently and shared among multiple users, can harbor a significant amount of bacteria, viruses, and fungi. Studies have shown that keyboards can be even dirtier than toilet seats! Food particles, dead skin cells, and other contaminants accumulate between the keys, creating a breeding ground for germs. Regularly cleaning your keyboard helps to minimize the risk of spreading infections and maintaining a healthier workspace. Proper hygiene is paramount, and cleaning your keyboard is a simple yet effective step in this direction.
### Performance Enhancement: Preventing Sticky Keys and Malfunctions
Dust, crumbs, and other debris can interfere with the proper functioning of your keyboard. These particles can get lodged beneath the keys, causing them to stick, become unresponsive, or even malfunction entirely. Regular cleaning removes these obstructions, ensuring smooth and accurate keystrokes. This is especially critical for gamers and professionals who rely on precise and responsive keyboard performance.
### Longevity and Preservation: Protecting Your Investment
Regular cleaning can significantly extend the lifespan of your PC keyboard. By removing corrosive substances and preventing the buildup of debris that can damage internal components, you can protect your investment and avoid costly repairs or replacements. A well-maintained keyboard is a reliable keyboard, and consistent cleaning is a key factor in its longevity.
## Essential Tools and Materials for Cleaning Your PC Keyboard
Before you begin cleaning, gather the necessary tools and materials. Having everything on hand will make the process more efficient and effective. Here’s a comprehensive list:
* **Compressed Air:** For blasting away loose dust and debris from between the keys. A can of compressed air is a must-have for any keyboard cleaning routine.
* **Microfiber Cloths:** Soft, lint-free cloths for wiping down surfaces and removing dirt without scratching. Always use microfiber cloths to avoid damaging your keyboard.
* **Isopropyl Alcohol (70% or Higher):** A disinfectant and cleaning agent that evaporates quickly, minimizing the risk of damage to electronic components. Dilute if necessary.
* **Cotton Swabs:** For cleaning hard-to-reach areas and removing stubborn dirt.
* **Keycap Puller (Optional but Recommended):** A tool for safely removing keycaps for thorough cleaning. This tool greatly simplifies the cleaning process.
* **Small Brush (Soft Bristled):** For gently brushing away dust and debris from the keyboard surface.
* **Dish Soap (Mild):** For washing keycaps (if removed). Use sparingly and ensure thorough rinsing.
* **Vacuum Cleaner (with Brush Attachment):** For removing larger debris and dust particles. Be gentle to avoid damaging the keys.
## Step-by-Step Guide: How to Clean Your PC Keyboard Effectively
Now that you have your tools and materials ready, let’s dive into the cleaning process. Follow these steps for a thorough and effective cleaning:
### Step 1: Power Down and Disconnect
Before you begin any cleaning, **always** power down your computer and disconnect the keyboard. This is crucial for safety and to prevent accidental damage to your keyboard or computer.
### Step 2: Remove Loose Debris with Compressed Air
Hold the can of compressed air at a slight angle and use short bursts to blast away loose dust, crumbs, and other debris from between the keys. Focus on the areas around the keys and any visible buildup. In our experience, tilting the keyboard upside down while doing this helps dislodge stubborn particles.
### Step 3: Wipe Down the Surface with a Microfiber Cloth and Isopropyl Alcohol
Lightly dampen a microfiber cloth with isopropyl alcohol (70% or higher). **Do not** spray the alcohol directly onto the keyboard. Gently wipe down the entire surface of the keyboard, paying attention to the keys and surrounding areas. The alcohol will help to disinfect the surface and remove any remaining dirt or grime. Avoid getting moisture into the keyboard’s internal components.
### Step 4: Clean Between the Keys with Cotton Swabs
Dampen a cotton swab with isopropyl alcohol and carefully clean between the keys. This is where dirt and grime tend to accumulate. Use a gentle, circular motion to remove any stubborn debris. Replace the cotton swab as needed to ensure you’re always using a clean swab.
### Step 5: Remove Keycaps for Deep Cleaning (Optional but Recommended)
If you want to perform a more thorough cleaning, you can remove the keycaps. Use a keycap puller to gently remove each keycap. Be careful not to damage the keycaps or the keyboard mechanism. Take a picture of your keyboard layout before removing the keycaps to ensure you can put them back in the correct order.
### Step 6: Wash the Keycaps
Once the keycaps are removed, wash them in a bowl of warm water with a small amount of mild dish soap. Gently scrub the keycaps with a soft brush or your fingers to remove any dirt or grime. Rinse the keycaps thoroughly with clean water and allow them to air dry completely before reattaching them to the keyboard. Based on expert consensus, avoid harsh chemicals or abrasive cleaners, as these can damage the keycaps.
### Step 7: Clean the Keyboard Base (Without Keycaps)
With the keycaps removed, you can now clean the keyboard base more thoroughly. Use a microfiber cloth dampened with isopropyl alcohol to wipe down the entire surface. Pay attention to any areas where dirt or grime has accumulated. You can also use a cotton swab to clean hard-to-reach areas.
### Step 8: Reassemble and Test
Once the keycaps are completely dry and the keyboard base is clean, carefully reattach the keycaps to the keyboard. Make sure each keycap is properly aligned and securely attached. Once the keyboard is fully reassembled, reconnect it to your computer and test all the keys to ensure they are functioning properly.
## Cleaning Different Types of PC Keyboards: Mechanical, Membrane, and Laptop
The cleaning process may vary slightly depending on the type of PC keyboard you have. Here’s a guide to cleaning different types of keyboards:
### Mechanical Keyboards: Precision Cleaning for Optimal Performance
Mechanical keyboards are known for their durability and responsiveness, but they also require more meticulous cleaning. The keycaps on mechanical keyboards are often removable, which makes cleaning easier. However, be extra careful when removing and reattaching the keycaps, as the switches underneath can be delicate. Use a keycap puller to avoid damaging the switches. Ensure all components are *completely dry* before reassembling to avoid short circuits.
### Membrane Keyboards: Gentle Cleaning to Avoid Damage
Membrane keyboards are more common and generally less expensive than mechanical keyboards. They are also more susceptible to damage from excessive moisture. When cleaning a membrane keyboard, use a slightly damp cloth and avoid spraying any liquids directly onto the keyboard. Be gentle when wiping down the surface to avoid damaging the membrane layer underneath the keys.
### Laptop Keyboards: Extra Care Required
Cleaning a laptop keyboard requires extra care, as the keys are often more delicate and the keyboard is integrated into the laptop. Avoid removing the keycaps on a laptop keyboard unless you are experienced and confident in your ability to do so without causing damage. Use a slightly damp cloth and compressed air to clean the keyboard surface. Be especially careful to avoid getting any moisture into the internal components of the laptop. Since the internal components are very close to the keyboard surface, we *strongly advise* against using excessive amounts of liquid.
## Maintaining a Clean PC Keyboard: Tips for Long-Term Cleanliness
Cleaning your PC keyboard is important, but maintaining its cleanliness is even more crucial. Here are some tips for keeping your keyboard clean in the long term:
* **Wash Your Hands Regularly:** This is the simplest and most effective way to prevent dirt and grime from accumulating on your keyboard.
* **Avoid Eating or Drinking Near Your Keyboard:** Food and drinks can easily spill onto your keyboard, creating a sticky mess and attracting germs.
* **Use a Keyboard Cover:** A keyboard cover can protect your keyboard from dust, spills, and other contaminants.
* **Clean Your Keyboard Regularly:** Make it a habit to clean your keyboard at least once a week to prevent the buildup of dirt and grime.
## Product Spotlight: The Cyber Clean Keyboard Cleaning Compound
While the above methods are effective, some users prefer a dedicated cleaning product. Cyber Clean is a popular keyboard cleaning compound that effectively removes dust, dirt, and germs from hard-to-reach areas. Its unique formula molds to the shape of your keyboard, allowing it to penetrate between the keys and remove even the most stubborn debris. It also boasts disinfecting properties. It’s easy to use and leaves your keyboard looking and feeling clean. Remember to always follow the manufacturer’s instructions when using any cleaning product.
### Features of Cyber Clean:
1. **Molding Compound:** Conforms to the keyboard’s shape for thorough cleaning.
2. **Disinfecting Properties:** Kills germs and bacteria on contact.
3. **Easy to Use:** Simply press the compound onto the keyboard and peel it away.
4. **Reusable:** Can be used multiple times until it becomes saturated with dirt.
5. **Non-Toxic:** Safe for use around children and pets.
6. **Pleasant Scent:** Leaves your keyboard smelling fresh and clean.
7. **Effective on Other Devices:** Can also be used to clean mice, phones, and other electronic devices.
### Advantages of Using Cyber Clean:
* **Convenience:** Quick and easy to use, making it ideal for busy individuals.
* **Effectiveness:** Removes dirt and germs from hard-to-reach areas.
* **Safety:** Non-toxic and safe for use around children and pets.
* **Versatility:** Can be used on a variety of electronic devices.
* **Long-Lasting:** Reusable, providing excellent value for money.
### Disadvantages of Using Cyber Clean:
* **Residue:** Can leave a slight residue on some surfaces.
* **Scent:** The scent may be overpowering for some individuals.
* **Cost:** More expensive than traditional cleaning methods.
* **Not Suitable for Heavy Cleaning:** Not effective for removing large spills or stubborn stains.
### Cyber Clean Review
Cyber Clean offers a convenient and effective way to clean your PC keyboard. Its unique molding compound allows it to reach even the most difficult-to-access areas, removing dust, dirt, and germs with ease. While it may leave a slight residue on some surfaces and the scent may be overpowering for some, the overall benefits outweigh the drawbacks. We’ve found that users consistently report satisfaction with Cyber Clean’s ability to keep their keyboards clean and hygienic. It is best suited for individuals who want a quick and easy way to maintain a clean keyboard without the hassle of traditional cleaning methods. Alternatives include using compressed air and microfiber cloths, which are more affordable but require more effort. Overall, Cyber Clean is a solid choice for maintaining a clean and hygienic PC keyboard.
### Ideal User Profile for Cyber Clean:
* Individuals who want a quick and easy way to clean their keyboard.
* Those who are concerned about germs and hygiene.
* People who have difficulty reaching hard-to-access areas with traditional cleaning methods.
## Insightful Q&A: Addressing Your Keyboard Cleaning Concerns
Here are some frequently asked questions about cleaning your PC keyboard:
**Q1: How often should I clean my PC keyboard?**
**A:** Ideally, you should perform a quick cleaning (compressed air and wiping) once a week and a deep cleaning (keycap removal and washing) every one to three months, depending on usage and environmental factors.
**Q2: Can I use regular household cleaners to clean my keyboard?**
**A:** No, avoid using harsh chemicals or abrasive cleaners, as they can damage the keyboard’s surface and internal components. Stick to isopropyl alcohol (70% or higher) and mild dish soap.
**Q3: What should I do if I spill liquid on my keyboard?**
**A:** Immediately disconnect the keyboard, turn it upside down to drain the liquid, and let it dry completely before reconnecting it. If the liquid is sticky (e.g., soda), rinse the affected area with distilled water and allow it to dry thoroughly.
**Q4: How do I clean a sticky keyboard key?**
**A:** Remove the keycap and clean the key switch and surrounding area with a cotton swab dampened with isopropyl alcohol. Make sure the alcohol evaporates completely before reattaching the keycap.
**Q5: Is it safe to use a vacuum cleaner to clean my keyboard?**
**A:** Yes, but use a low setting and a brush attachment to avoid damaging the keys. Be gentle and avoid applying too much pressure.
**Q6: How do I clean a wireless keyboard?**
**A:** The cleaning process is the same as for a wired keyboard, but be sure to remove the batteries before cleaning.
**Q7: How do I disinfect my keyboard?**
**A:** Use isopropyl alcohol (70% or higher) to wipe down the keyboard surface. Alcohol is an effective disinfectant that evaporates quickly.
**Q8: What’s the best way to dry keycaps after washing them?**
**A:** Allow the keycaps to air dry completely on a clean towel. Avoid using a hairdryer or other heat source, as this can damage the keycaps.
**Q9: Can I put my keycaps in the dishwasher?**
**A:** While some users have reported success with this method, it’s generally not recommended, as the high heat and harsh detergents can damage the keycaps.
**Q10: How do I prevent dust from accumulating on my keyboard?**
**A:** Use a keyboard cover when the keyboard is not in use. Also, avoid placing the keyboard in dusty environments.
## Conclusion: A Clean Keyboard for a Productive and Healthy Workspace
Keeping your PC keyboard clean is essential for hygiene, performance, and longevity. By following the steps outlined in this comprehensive guide, you can effectively clean your keyboard and maintain a clean and healthy workspace. Remember to power down and disconnect the keyboard before cleaning, use the appropriate tools and materials, and clean regularly. A clean keyboard is a productive keyboard, so take the time to keep yours in top condition. Now that you’re armed with the knowledge of **how to clean pc keyboard**, share your experiences and tips in the comments below!
