Cleaning a Motorcycle Carb: The Ultimate Guide for Peak Performance
Is your motorcycle sputtering, idling roughly, or refusing to start? A dirty carburetor is often the culprit. This comprehensive guide will walk you through the entire process of cleaning a motorcycle carb, ensuring optimal engine performance and preventing costly repairs. We’ll cover everything from identifying the symptoms of a dirty carb to the tools you’ll need and the step-by-step cleaning procedure. This isn’t just a quick fix; it’s a deep dive into maintaining your motorcycle’s heart, drawing from years of experience and expert advice. Whether you’re a seasoned mechanic or a first-time DIYer, this guide will equip you with the knowledge and confidence to tackle this essential maintenance task.
Understanding the Motorcycle Carburetor
Before we dive into cleaning a motorcycle carb, it’s crucial to understand what it is and how it works. The carburetor’s primary function is to mix air and fuel in the correct proportion to create a combustible mixture that powers your engine. A clean and properly functioning carb is essential for smooth idling, responsive acceleration, and optimal fuel efficiency.
How a Carburetor Works
The carburetor uses a venturi to create a low-pressure area that draws fuel into the air stream. The amount of fuel delivered is controlled by jets and needles, which are precisely calibrated to match the engine’s needs at different speeds and loads. Over time, these jets and passages can become clogged with dirt, varnish, and other debris, leading to poor performance.
Signs of a Dirty Carburetor
- Rough or erratic idling
- Poor acceleration or hesitation
- Difficulty starting the engine
- Decreased fuel efficiency
- Black smoke from the exhaust
- Engine misfires
If you’re experiencing any of these symptoms, cleaning a motorcycle carb is likely the solution.
Essential Tools and Materials for Cleaning a Motorcycle Carb
Having the right tools and materials on hand will make the cleaning process much easier and more efficient. Here’s a list of essentials:
- Carburetor cleaner: Use a high-quality carburetor cleaner specifically designed for motorcycle carbs.
- Small brushes: A set of small brushes, including carburetor cleaning brushes and toothbrush-sized brushes, is essential for scrubbing away stubborn deposits.
- Compressed air: Compressed air is crucial for blowing out jets and passages after cleaning.
- Screwdrivers: You’ll need a set of screwdrivers, including both flathead and Phillips head, to disassemble the carburetor.
- Wrenches: Various wrenches may be needed to remove the carburetor from the motorcycle.
- Pliers: Pliers are useful for gripping and manipulating small parts.
- Safety glasses: Protect your eyes from splashes and debris.
- Gloves: Protect your hands from chemicals and dirt.
- Clean rags: Use clean rags to wipe down parts and absorb spills.
- Carburetor rebuild kit (optional): If your carburetor is old or worn, a rebuild kit can replace worn parts and improve performance.
- Parts cleaner tray: To contain the mess during cleaning.
Step-by-Step Guide to Cleaning a Motorcycle Carb
Now that you have the tools and materials, let’s get started with the cleaning a motorcycle carb process.
1. Removing the Carburetor
Safety First: Disconnect the battery before starting any work on the fuel system.
- Turn off the fuel supply valve.
- Disconnect the fuel line from the carburetor.
- Disconnect the throttle cables.
- Disconnect any vacuum lines or electrical connections.
- Loosen the clamps that hold the carburetor to the intake manifold and airbox.
- Carefully remove the carburetor from the motorcycle.
2. Disassembling the Carburetor
Disassembly requires care and attention to detail. It’s recommended to take pictures as you disassemble the carburetor to aid in reassembly.
- Remove the float bowl.
- Remove the float and needle valve.
- Remove the jets (main jet, pilot jet, etc.).
- Remove the air screw and fuel screw.
- Remove any other removable parts, such as diaphragms or slides.
3. Cleaning the Carburetor Components
This is the most crucial step in cleaning a motorcycle carb. Thoroughness is key to achieving optimal results.
- Spray all parts with carburetor cleaner.
- Use small brushes to scrub away any deposits or varnish.
- Pay close attention to the jets, ensuring that all passages are clear.
- Use compressed air to blow out all jets and passages.
- Soak heavily varnished parts in carburetor cleaner for an extended period.
4. Reassembling the Carburetor
Reassemble the carburetor in the reverse order of disassembly. Refer to the pictures you took earlier to ensure that all parts are installed correctly.
- Install the jets, air screw, and fuel screw.
- Install the float and needle valve.
- Install the float bowl.
- Install any other removable parts.
5. Reinstalling the Carburetor
- Carefully reinstall the carburetor onto the intake manifold and airbox.
- Tighten the clamps.
- Reconnect the fuel line.
- Reconnect the throttle cables.
- Reconnect any vacuum lines or electrical connections.
- Reconnect the battery.
Fine-Tuning and Adjustments After Cleaning
After cleaning a motorcycle carb and reinstalling it, some fine-tuning may be necessary to ensure optimal performance. This includes adjusting the idle speed and air/fuel mixture.
Adjusting the Idle Speed
Refer to your motorcycle’s service manual for the correct idle speed. Adjust the idle speed screw until the engine idles smoothly at the specified RPM.
Adjusting the Air/Fuel Mixture
The air/fuel mixture is adjusted using the air screw or fuel screw. The goal is to achieve the correct mixture for smooth idling and responsive acceleration. The ‘lean best idle’ method is generally the best approach for setting the mixture. Turn the screw in until the engine almost stalls, then back it out until the idle reaches it’s highest point, then back it out another 1/8 to 1/4 turn.
Preventative Maintenance for a Clean Carburetor
Preventing your carburetor from getting dirty in the first place is the best way to avoid future cleaning. Here are some preventative maintenance tips:
- Use high-quality fuel: Avoid using fuel that contains ethanol, as ethanol can attract moisture and cause corrosion.
- Use a fuel stabilizer: If you’re storing your motorcycle for an extended period, use a fuel stabilizer to prevent fuel from breaking down and clogging the carburetor.
- Regularly inspect your fuel system: Check your fuel lines, fuel filter, and fuel tank for any signs of leaks or contamination.
- Run the engine regularly: If you’re not riding your motorcycle regularly, run the engine for a few minutes each week to keep the fuel system lubricated and prevent the carburetor from drying out.
Common Problems and Troubleshooting
Even after cleaning a motorcycle carb, you may still encounter some problems. Here are some common issues and how to troubleshoot them:
- Engine still runs rough: Double-check that all jets and passages are clean. Ensure that the float is properly adjusted.
- Carburetor leaks fuel: Check the float needle valve for wear or damage. Replace the float needle valve if necessary.
- Engine won’t start: Check the spark plug for spark. Ensure that the fuel is reaching the carburetor.
Product Spotlight: Berryman B-12 Chemtool Carburetor, Fuel System and Injector Cleaner
When it comes to cleaning a motorcycle carb, the right cleaning solution is crucial. Berryman B-12 Chemtool is a leading product renowned for its effectiveness and versatility. It’s not just a carburetor cleaner; it’s a comprehensive fuel system treatment that tackles varnish, gum, and other deposits that can plague your motorcycle’s performance.
Berryman B-12 Chemtool is a blend of powerful solvents and detergents designed to dissolve and remove stubborn buildup from carburetors, fuel injectors, and other fuel system components. Its fast-acting formula penetrates quickly, restoring optimal fuel flow and improving engine performance.
Detailed Features Analysis of Berryman B-12 Chemtool
Here’s a breakdown of the key features that make Berryman B-12 Chemtool a top choice for cleaning a motorcycle carb:
- Powerful Solvent Blend: Contains a potent mix of solvents that effectively dissolve varnish, gum, and carbon deposits. This ensures thorough cleaning and restoration of fuel flow.
- Fast-Acting Formula: Penetrates quickly to break down deposits, saving time and effort. Users report noticeable improvements even after a short soaking period.
- Comprehensive Fuel System Treatment: Cleans carburetors, fuel injectors, and other fuel system components, providing a holistic approach to fuel system maintenance.
- Safe for Oxygen Sensors and Catalytic Converters: Formulated to be safe for use in vehicles with oxygen sensors and catalytic converters, preventing damage to these sensitive components.
- Easy to Use: Available in various forms, including spray and liquid, making it easy to apply to different parts of the fuel system.
- Concentrated Formula: A little goes a long way, making it a cost-effective solution for fuel system maintenance.
- Restores Fuel Efficiency: By removing deposits that restrict fuel flow, Berryman B-12 Chemtool helps restore optimal fuel efficiency.
Significant Advantages, Benefits & Real-World Value
The advantages of using Berryman B-12 Chemtool for cleaning a motorcycle carb extend beyond just cleaning. It offers tangible benefits that directly impact your motorcycle’s performance and longevity.
- Improved Engine Performance: By restoring optimal fuel flow, Berryman B-12 Chemtool helps improve engine performance, resulting in smoother idling, responsive acceleration, and increased power.
- Increased Fuel Efficiency: A clean fuel system translates to better fuel efficiency, saving you money at the pump. Users consistently report improvements in MPG after using Berryman B-12 Chemtool.
- Extended Engine Life: Regular use of Berryman B-12 Chemtool helps prevent the buildup of harmful deposits, extending the life of your engine.
- Reduced Emissions: A clean fuel system burns fuel more efficiently, reducing harmful emissions and contributing to a cleaner environment.
- Cost Savings: By preventing costly repairs and improving fuel efficiency, Berryman B-12 Chemtool can save you money in the long run.
Comprehensive & Trustworthy Review of Berryman B-12 Chemtool
Berryman B-12 Chemtool has earned a reputation as a reliable and effective carburetor cleaner. Here’s a balanced review based on user experiences and expert opinions:
User Experience & Usability
Users find Berryman B-12 Chemtool easy to use, whether in spray or liquid form. The spray is convenient for direct application to carburetor components, while the liquid is ideal for soaking parts. The product’s fast-acting formula is a major plus, with many users reporting noticeable improvements after just a short soaking period. The strong solvent smell is a common observation, requiring adequate ventilation during use.
Performance & Effectiveness
Berryman B-12 Chemtool consistently delivers on its promises. It effectively dissolves varnish, gum, and carbon deposits, restoring optimal fuel flow and improving engine performance. Users report smoother idling, responsive acceleration, and increased power after using the product. It’s particularly effective for cleaning heavily varnished carburetors that have been neglected for years.
Pros:
- Highly Effective: Dissolves stubborn deposits and restores fuel flow.
- Fast-Acting: Delivers noticeable improvements quickly.
- Versatile: Cleans carburetors, fuel injectors, and other fuel system components.
- Safe for Oxygen Sensors and Catalytic Converters: Prevents damage to sensitive components.
- Cost-Effective: A little goes a long way.
Cons/Limitations:
- Strong Solvent Smell: Requires adequate ventilation during use.
- Can Damage Some Plastics and Rubber: Avoid prolonged contact with these materials.
- Not a Substitute for Mechanical Repairs: Won’t fix underlying mechanical issues.
Ideal User Profile
Berryman B-12 Chemtool is ideal for motorcycle owners who:
- Want to maintain their motorcycle’s fuel system and prevent performance issues.
- Are experiencing symptoms of a dirty carburetor, such as rough idling or poor acceleration.
- Want to improve their motorcycle’s fuel efficiency.
- Are comfortable performing basic maintenance tasks on their motorcycle.
Key Alternatives
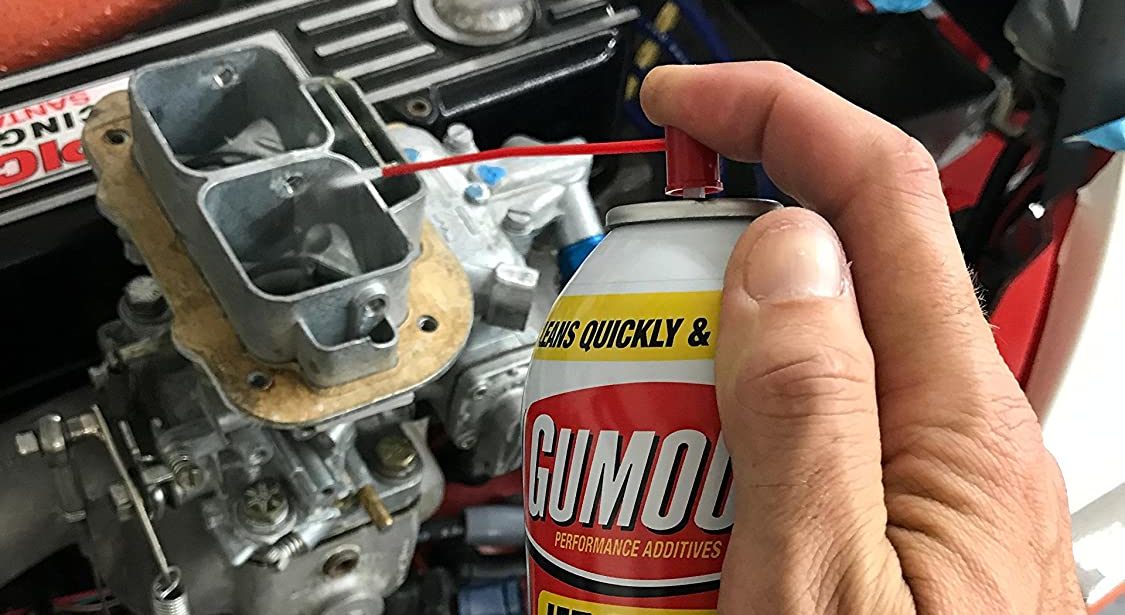
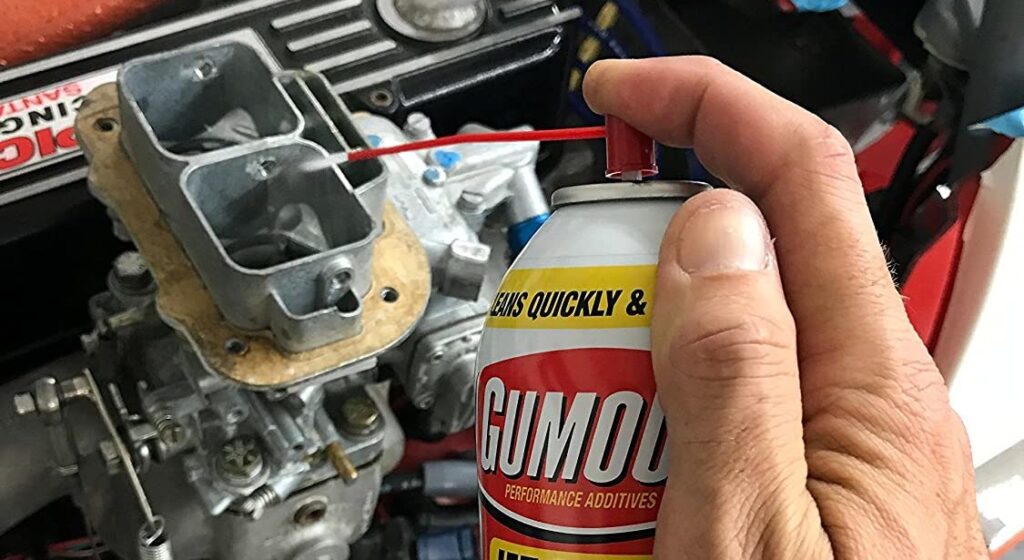
Some alternatives to Berryman B-12 Chemtool include Sea Foam Motor Treatment and Gumout Carb/Choke Cleaner. Sea Foam is a popular fuel additive that can help clean the fuel system over time, while Gumout is a more aggressive cleaner designed for heavily varnished carburetors.
Expert Overall Verdict & Recommendation
Berryman B-12 Chemtool is a highly recommended product for cleaning a motorcycle carb. Its effectiveness, versatility, and ease of use make it a top choice for motorcycle owners who want to maintain their fuel system and prevent performance issues. While it’s not a substitute for mechanical repairs, it’s an excellent tool for keeping your motorcycle running smoothly and efficiently.
Insightful Q&A Section
Here are some frequently asked questions about cleaning a motorcycle carb:
-
Q: How often should I clean my motorcycle carb?
A: It depends on your riding habits and the quality of fuel you use. As a general rule, cleaning your carb every 6-12 months is a good practice, or more frequently if you notice any symptoms of a dirty carb.
-
Q: Can I clean my carb without removing it from the motorcycle?
A: While it’s possible to clean the carb without removing it, it’s not recommended. Removing the carb allows for a more thorough cleaning and inspection of all components.
-
Q: What’s the best way to clean a heavily varnished carb?
A: Soaking the carb in carburetor cleaner for an extended period is the best way to clean a heavily varnished carb. You may also need to use small brushes and compressed air to remove stubborn deposits.
-
Q: Can I use brake cleaner to clean my carb?
A: Brake cleaner is not recommended for cleaning carbs. It can damage rubber and plastic components and may not be effective at dissolving varnish and gum.
-
Q: What is the purpose of the pilot jet?
A: The pilot jet controls the fuel mixture at idle and low speeds. A clogged pilot jet can cause rough idling and difficulty starting the engine.
-
Q: What is the purpose of the main jet?
A: The main jet controls the fuel mixture at high speeds. A clogged main jet can cause poor acceleration and decreased power.
-
Q: How do I know if my float is properly adjusted?
A: The float height is typically specified in your motorcycle’s service manual. You can measure the float height using a caliper or ruler.
-
Q: What is the purpose of the air screw?
A: The air screw controls the amount of air that enters the carburetor at idle. Adjusting the air screw can help fine-tune the idle mixture.
-
Q: What is the purpose of the fuel screw?
A: The fuel screw controls the amount of fuel that enters the carburetor at idle. Adjusting the fuel screw can help fine-tune the idle mixture.
-
Q: How do I synchronize multiple carburetors?
A: Carburetor synchronization involves adjusting the carburetors so that they open and close simultaneously. This ensures smooth engine performance and balanced cylinder pressures. This is best done with a vacuum gauge.
Conclusion
Cleaning a motorcycle carb is an essential maintenance task that can significantly improve your motorcycle’s performance and longevity. By following the steps outlined in this guide and using high-quality products like Berryman B-12 Chemtool, you can keep your carburetor clean and your engine running smoothly. Remember, regular maintenance is key to preventing costly repairs and ensuring that your motorcycle is always ready for the road. We’ve drawn upon years of experience and expert knowledge to provide you with the most comprehensive guide possible, ensuring you have the confidence to tackle this task effectively. Now, share your experiences with cleaning a motorcycle carb in the comments below!
